
Are you looking for peace of mind? How do you get organized and protect your sensitive documents from potential theft? Need clarification about where to start when it comes to document shredding? Look no further, this blog post will give you the lowdown on 10 essential steps for document shredding preparation to help you securely dispose of paperwork with complete confidence.
Step #1: Confirm What Documents Need To Be Shredded
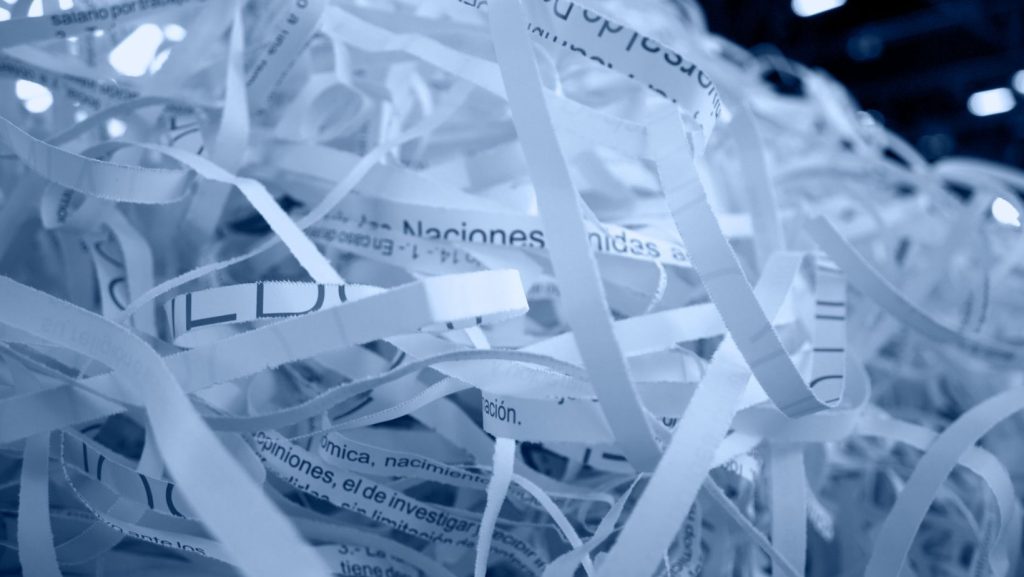
Protecting sensitive information is crucial for mitigating potential risks. Knowing what documents to shred is an essential step toward achieving this goal. Any confidential documents should be shredded to prevent identity theft or fraud. These may include bank statements, credit card statements, tax forms, invoices, and legal documents. Old credit cards, CDs, DVDs, and expired passports should be destroyed. Once shredded, these documents cannot be pieced together again, ensuring your personal information remains safe and secure.
Step #2: Understand Your Document Shredding Laws
The best way to protect yourself and your clients is by understanding your state’s document shredding laws. Different states have varying rules and guidelines regarding what types of documents must be shredded, how long they should be retained, and what methods of destruction are acceptable. By educating yourself on your state’s and federal regulations and implementing secure shredding practices, you can ensure that your confidential information stays safe from the threat of identity theft and fraud.
Step #3: Separate Your Documents Into Categories
Organizing your paperwork can be tedious, but it’s a necessary evil that can save you time and headaches in the long run. By separating your documents into categories, you can easily find what you need when you need it. Imagine never misplacing your bills or essential tax documents again. Create different folders or file labels for each category, such as financial, medical, personal, and work-related documents. Then, tackle one section at a time, sorting each paper and placing it in the appropriate folder. Not only will this keep your paperwork in order, but it will also give you a sense of accomplishment to see everything neatly categorized. Plus, it will make shredding easier because you’ll know which documents to dispose of without hesitation.
Step #4: Find Reputable Local Shredding Service Providers
Once you’ve determined which documents to shred, it’s time to find a reputable shredding service provider. Local companies like us at American Document Services are great choices as we provide on-site shredding services, where we come to your location and shred the documents while you watch. This way, you can verify that your records have been destroyed correctly. Look for companies certified by the National Association for Information Destruction (NAID) as they adhere to strict industry standards and regulations.
Step #5: Choose Appropriate Shredding Methods
Discuss the shredding methods available with your chosen provider—options range from a one-time purge to a scheduled shredding service. One-time purges are ideal if you have a large amount of paperwork to shred at one time, while scheduled services are best suited for businesses that produce a steady flow of documents.
Step #6: Schedule Shredding Services
Coordinate with the shredding service to schedule a suitable date and time for the shredding process. Consider regular shredding services to maintain an ongoing and organized approach to document disposal. Depending on your needs, you can schedule monthly, bi-monthly, or quarterly services. This way, you won’t worry about constantly sorting and storing documents until the next scheduled service.
Step #7: Prepare Your Documents For Shredding
Before the shredding service arrives, prepare your documents by removing any paper clips, staples, or bindings. These can cause damage to shredding machines and must be removed for a smooth shredding process. Additionally, remove sensitive information from binders or envelopes, including stickers or labels with personal information.
Step #8: Witness The Shredding Process
If you’ve opted for on-site shredding services, take advantage of this feature by witnessing the shredding process. Knowing that your documents have been destroyed correctly will give you peace of mind. It also allows you to ask any questions about the process and how to ensure the destruction of your records.
Step #9: Request A Certificate Of Destruction
After witnessing the shredding process, request a certificate of destruction from the shredding service provider. This document proves that your records were destroyed correctly, providing an added layer of security and protection for your business or personal information.
Step #10: Educate Staff On Shredding Procedures
Educate your staff on the importance of proper document handling and shredding procedures as document shredding preparation. Please encourage them to follow the established document retention policy. Train them on identifying and handling sensitive information and the steps they should take before disposing of it properly. This will help create a culture of security within your organization, reducing the risk of potential data breaches or identity theft incidents.
Following these ten steps for document shredding preparation, you can effectively manage your organization’s sensitive information, maintain compliance with regulations, and contribute to a secure business environment. Trusting American Document Services for your shredding needs ensures a reliable and fast service, giving you peace of mind and protecting your reputation. Please take your time; implement proper document shredding practices today. Call us at 575-647-0060 to schedule your shredding service and protect yourself from the threat of identity theft and fraud.